Saturday, June 22, 2013

You want owls your way ? ok!!

We love making owls and especially when you give us special things to make them out of. Here are a few we did lately.

These 4 beauties came from a kids bed cover fabric. Super cute and sentimental.


 This big guy we made out of a dad's sweater for his son.


This little brown owl was flying off to a little 2 year old who needed a 'rocking' owl from her very rock 'n' roll parents.

Let us know if you have a special owl request and we will be happy to make one just for you.

It's my party and I'll fly if I want to !!

So even though I told myself no more big parties, my inner party planner said yes let's do this!! I was informed by my youngest that it needed to be fairies this year for number 5 and so fairies is what she got.

 Rose petal plates and blossoms and butterflies added to the table cloth. Each glued by hand....yep couldn't help myself. I also like to do parties on a budget.


Toadstools set up ready for the activity part of the party. instead of musical chairs of course it was musical toadstools.


 The birthday girl herself embodying flower power fairy. Each fairy got wings, bracelets, a flower headband and a flower necklace. Most courtesy of the Dollar Store and the bracelets I found a big bag of about 200 for $3 at Value Village (thrift store). I bought the flower leis at the Dollar Store and then cut them up and re-threaded them on ribbon for the necklaces and on elastic for the head pieces.


Mini pancakes and chocolate bliss balls. The bliss balls were cocoa powder, dates and nuts blended together. A healthy treat that the kids thought was a naughty treat.


Cupcakes for birthday cakes with heart sprinkles and little wooden ladybugs. I bought the vintage cake stand from the thrift store a few years back. Perched on top are 2 little love birds.


Fairy photo booth. Even my son wanted to try it out.


 Looking for fairies.


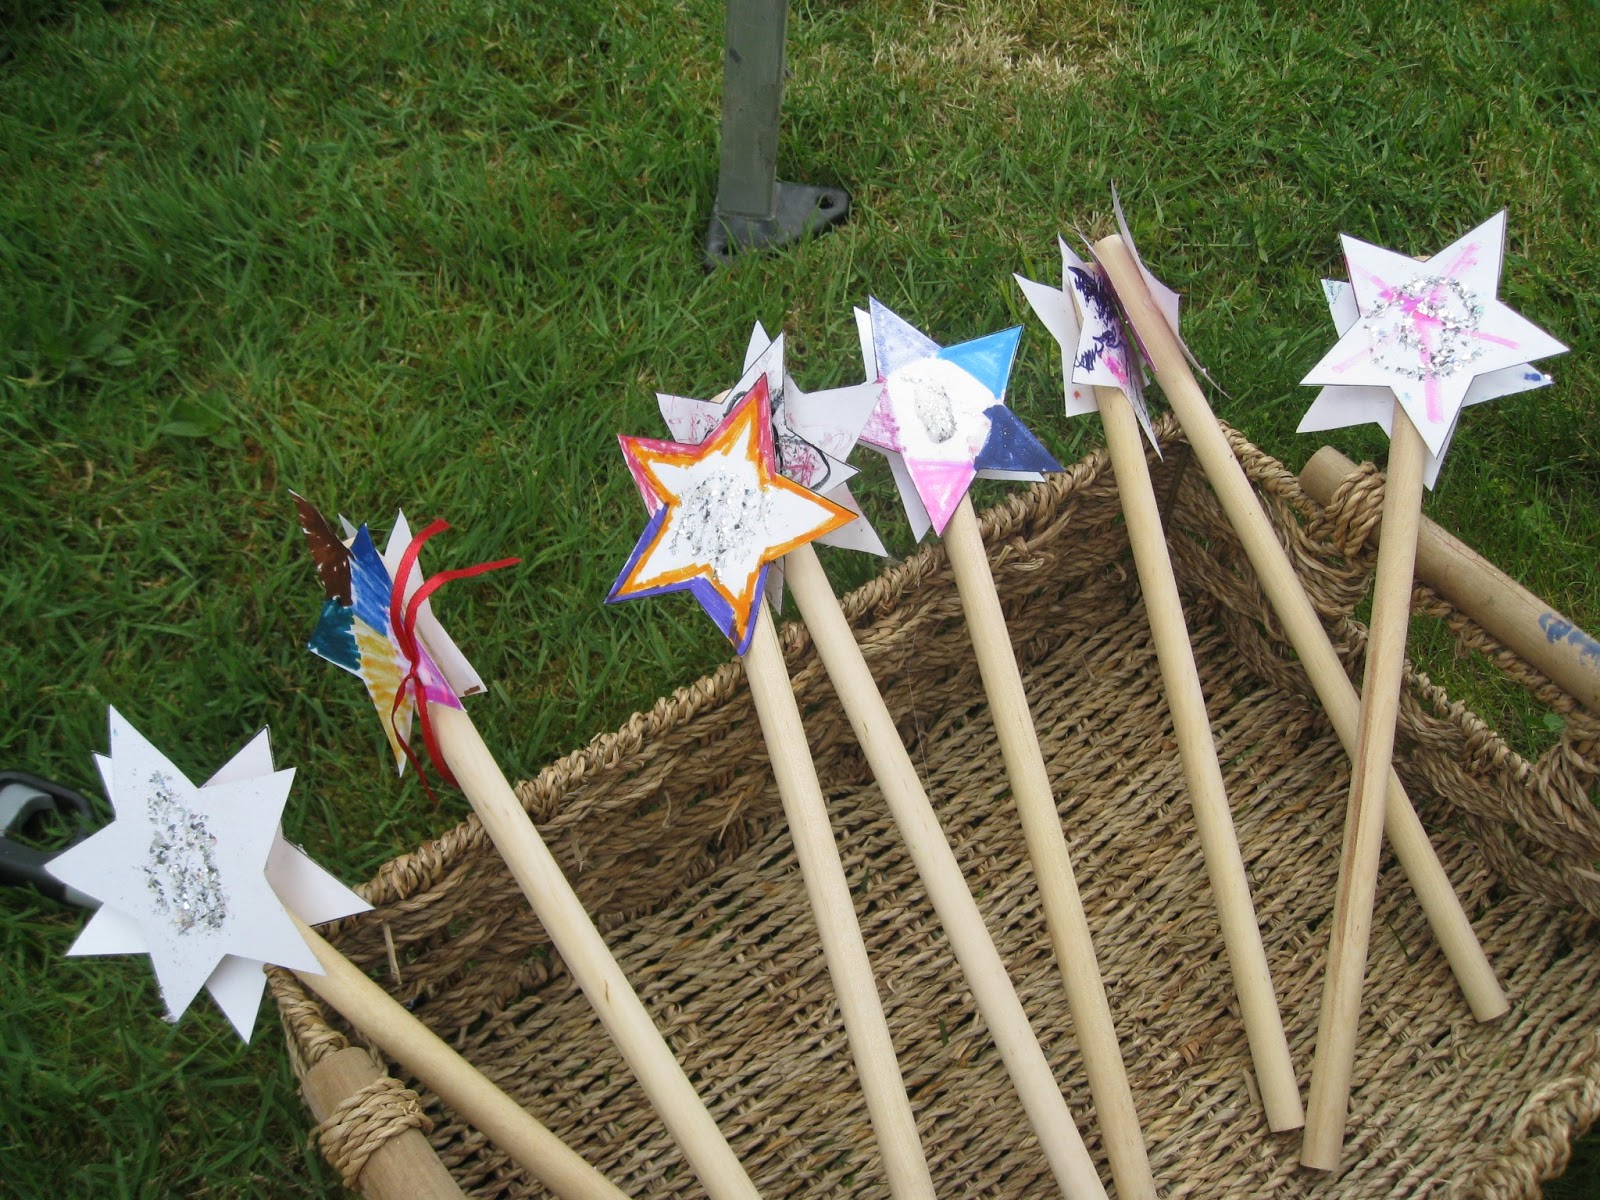
Craft time. We made fairy wands and jewellery boxes to house all the sparkling bracelets that the fairies had won.


Thursday, May 24, 2012

Let's celebrate turning 4 with a little sparkle!

So having left my design job many years back, I secretly or not so secretly love throwing my kids parties and spending weeks on the little details and trying to make as much of it myself.

Evie wanted a princess party and that is what she got. This was her little character below that I drew.

For each child I designed a little character that looked like them.


I made little fabric party bags. Each had a little tag with their name and character on.

I had found these gold stars on ebay so I added tulle and ribbon to the end to make princess wands.They also had some sparkly jewellery for dress up, a larger picture of their character and a glass pebble magnet again with them on it.


Pinterest helped me find a tutorial on tissue paper pompoms which we hung all over the garden.


The cake was a royal pink cushion with the glass slipper on it propping up Cinderella and Prince Charming Lalaloopsy dolls (E's favourite).

Ezra was a knight standing guard and only letting the guest list in. He was so in character !!


 We did face painting, dressing up in heels and jewels, making crowns and of course lots of eating yummy vegan treats.

Looking for a quiet birthday next year.....but we'll see.

Monday, April 30, 2012

Picnic Season is almost here!

I have been wanting to make a big picnic sheet for a while for our ever growing family and finally this weekend I got there. It also grew from there and once the sheet was done, I made a bag for it, some napkins and a bag for those too!

The sheet was a funky duvet cover that I found at Value Village over a year ago for $4.99. I opened it out and kept one edge sewn so we can double it or open it out to make a really huge sheet and then I hemmed all the way around.

The big denim bag was made from a pair of my hubby's jeans. The smaller bag was made from the leg of my jeans and finally the napkins I made from you fabric my friend just donated to my craft supply. Thanks Robyn!

So pretty happy to complete the whole project for $4.99 and a day of sewing.


Saturday, April 14, 2012

Reuse Reuse Reuse

So I still have lots more of my old cherished clothes to turn into my daughters new summer wardrobe.

Today I managed to turn a thai dress into a dress for her. I cut off the top part of the dress and added black bias binding to the armhole, top and for the straps.

Here is the dress before :
 Here is the 'after'...Evie has her scarey face on ;)


The skirt matches the brown top I worked on in a previous post. I had worn it in the past to a couple of weddings. I wanted to keep all the beautiful applique on it so I cut the length to size but left the width and then elasticated the top. It made a very twirly skirt which Evie and her dancing feet loved !!


Finally we did a kid and mum project. Last summer the kids grew a lavender plant each. We have been working on the garden and so I got the kids to pick off the dried leaves and today we made lavender eye pillows. They all have removable covers. I did the sewing and the kids did the filling and we added rice to the lavender mix to weight the bags.


Quite a productive day in all. Lots of sewing as well as potting our whole deck garden with over 18 different types of seeds and plants and making 25 chocolate beer waffles with cashew cream and chocolate drizzle. I put the extras in the freezer for a yummy breakfast another day.

Thursday, April 12, 2012

We have wings!

So my goal for this year is to make all my gifts for friends and family, if at all possible. I, therefore, got a head start and began in January so that I can spread the projects out throughout the year.

I saw this blog a little while back with some beautiful fabric wings and thought that they would perfect for my princess ballerina, Evie. So here is my version.


You'll have to wait until Christmas for them to be modelled by her. Next we are back to repurposing my clothes into her summer wardrobe.

Monday, April 9, 2012

And another!!

This cute summer dress was gifted to me by a friend who was clearing her closet. I wanted to do something different with the top of the dress and then instead I decided to make another dress for Evie.

Here are the before and after shots. I sheered the body so there was minimal alterations in this one.

I cut off the straps and top green part. Then I folded over the cut edge and ironed and then began to sheer with the elastic on the spool. I left about 1 cm between the rows.

 Once finished I sewed in the straps to make this a halter neck maxi.